
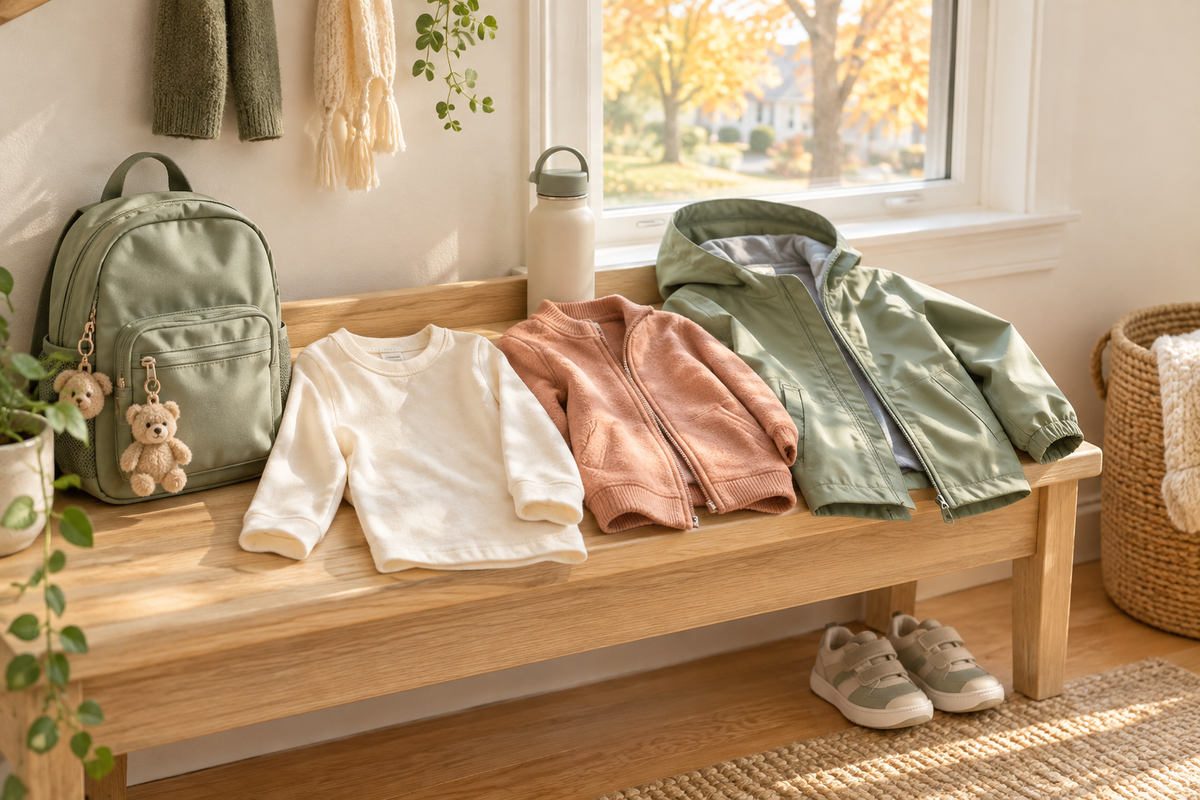
Fall school mornings can feel cool at drop-off and surprisingly warm by recess. The goal is not to predict one perfect outfit—it is to give your child simple layers they can add or remove as the day changes.
For most mild-to-cool fall days, think in three parts: Base · Warmth · Weather. Then do one last check: can your child manage the layers without help?

The quick answer: use three light, removable layers
The American Academy of Pediatrics recommends several thin layers for children in cold weather because they help kids stay warm and dry. Canada’s winter-safety guidance similarly favors lighter layers over one heavy garment. The practical fall version is simple: start light, add removable warmth, and use an outer layer only when wind or rain calls for it.
1. Base: the comfortable everyday layer
Start with the layer your child would be comfortable wearing indoors: a T-shirt or lightweight long-sleeve top with regular pants or leggings. It should move easily and not feel bulky under the next layer.
For babies and very young children in genuinely cold conditions, the AAP notes that one extra layer compared with a comfortable adult can be a useful rule of thumb. For older kids, comfort, activity level and the actual forecast matter more than a fixed formula.
2. Warmth: one layer they can remove
Add a cardigan, sweatshirt or light fleece that is easy to unzip, unbutton or pull off. A removable middle layer works better than committing to a heavy outfit when the afternoon may be much warmer.
Before leaving, ask: “If you get warm, where will this go?” A layer that fits inside the backpack—or can be tied or stored according to school rules—is more useful than one a child will lose or refuse to carry.

3. Weather: add only what the day needs
Use the outer layer for the actual conditions: a light windbreaker for a breezy morning, a water-resistant shell for rain, or a warmer coat when temperatures truly drop. Check the forecast, wind and rain—not just the calendar.
Wet clothing can make children lose heat faster, so if the day looks damp, pack a dry backup layer when practical.
Do the 30-second “manage it yourself” check
Before you head out, see whether your child can:
- take the middle layer off without getting stuck;
- zip or fasten the outer layer;
- carry or stow the removed layer;
- tell a teacher or caregiver if they feel too hot, cold or wet.
This small independence check is especially helpful for preschool and early-elementary kids who may spend part of the day indoors and part outside.
One important car-seat note
For children who still use a car seat or harnessed seat, avoid thick, puffy coats under the harness. The AAP recommends thin, snug layers instead; after the child is buckled correctly, a blanket or coat can go over the harness for warmth.
Watch the child, not only the temperature
If your child is sweating or their back feels damp, remove a layer before they overheat. If they are shivering, very cold, wet, unusually sluggish or complaining of numb skin in genuinely cold weather, bring them somewhere warm and reassess. Persistent or concerning symptoms deserve medical attention.
For another practical school-morning routine, see our 5-step school-bus stop safety routine.
Sources
American Academy of Pediatrics / HealthyChildren.org: Cold Weather Safety for Children
Government of Canada / Parachute Canada: Winter outdoor safety
This article is general parenting information, not medical advice. Local weather, a child’s age, health, activity level and school policies can change what is appropriate.
Image credits
Photo 1: Katia Damyan, Pexels — source page — Pexels License (free use; attribution not required).
Photo 2: Nati, Pexels — source page — Pexels License (free use; attribution not required).


